
I’m writing this article because to be honest, I couldn’t find this article when I was trying to learn how to do this. I recently visited Iceland for the first time, in search of the elusive Northern Lights that I wanted to see!
I don’t use DSLR cameras for the most part, for several reasons. Mainly I just like using a small camera that I’m actually likely to bring with me to lots of places and use more often. I feel like if I had a huge heavy camera like a DLSR, I simply wouldn’t use it as much because it’s so annoying to carry round.
So I always used compact cameras for all my Travel photos and vlogs (and everything you see on my YouTube channel is filmed on either an iPhone or a compact camera, usually a Sony). I wanted to take some pictures of the northern lights on my compact camera, and to be specific I was using a Sony RX100VA.
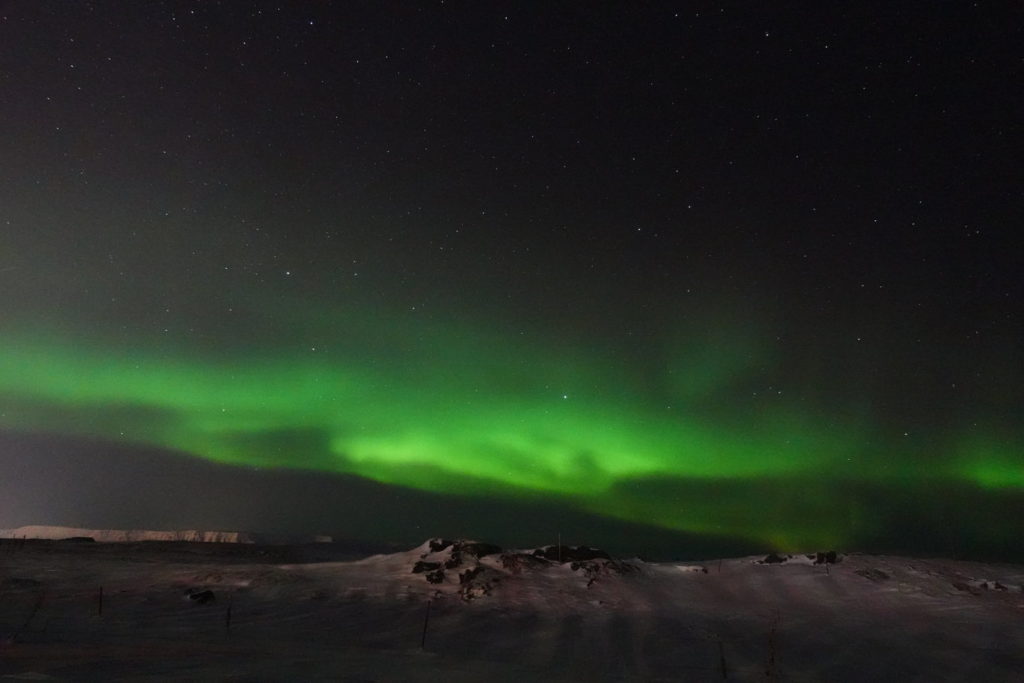
Here’s a shot I took on that exact Sony camera a week ago: By the way, please feel free to use any of my photos or share them but please include a credit link to this post or website as the copyright or source 🙂
This article applies pretty much to most of the compact cameras out there, as the tips and tricks I’ll share apply to all compact cameras. As long as you can manually change your settings like Aperture, ISO, and focus, you’ll be fine.
What you’ll need
- Tripod: As long as you can set it down, and it lifts your camera about 1-3 feet from the ground, any tripod will do. Ideally get one that really locks down like this, on the ball at the top so there’s NO chance of the camera slipping around, although because compact cameras as so light, this is MOST of them.
- Gloves: If you’re visiting a place like Iceland (Or most of the places you can see the northern lights) it’s going to be cold, and to see the northern lights you’ll be searching LATE at night, probably between 10-12PM or later, so it’s gonna be cold.
- Spare batteries: I didn’t realise this at first, but in the cold, your lipo camera batteries die FAST. I’m talking within just 10 minutes or so, sometimes more or less. Depending on which camera you have and which batteries you’re using, (and how cold it is) your camera will die. Bring spares and have everything fully charged. For the Sony RX100 (and they’d work for other Sony cameras in that range) I used these batteries.
- Patience: To actually see the northern lights, you’ll need to be super patient. This is because they don’t always show up. I’ll get onto how I saw them later but you’ll need to be patient.
How to photograph the northern lights with compact cameras
I’ll go into detail with how to do these in each step. I’ll also include pictures It took with my Sony RX100VA (click the link to read reviews of that camera, it’s GREAT for travel photography) and if you do happen to use or share one of my photos, please link back to this article for credits!
So I’ll assume you’ve booked a northern lights tour or something like that, or at least arranged transport to somewhere FAR outside the main cities. You really need to be somewhere that’s pitch black, and with no street lights, buildings or anything like that. The darker the better, and ideally somewhere with a mountain or some sort of interesting object or scenery for the foreground.
I booked onto a northern lights tour operated by the Grey Line company in Reykjavic but you can find lots of tours. They’re all pretty good, and the benefit of doing it with a tour is that if you DON’T see the northern lights, they let you keep coming back every night for free until you DO see them, so it works out a lot cheaper than hiring a car if you don’t see them.
And on that note, don’t be put off if you don’t see them. I was lucky enough to see them first time, first night, but not everyone is. There were some people on our tour who had tried to see them 3-4 nights in a row and only just seen them with me. So it happens, and sometimes weeks go by with no activity. That being said, well worth the wait, because they were absolutely beautiful.
Firstly, find the northern lights!
Before getting on the photography tips, you actually need to FIND the northern lights. Usually, you’ll know it when you see them because the sky will light up green. It usually starts as a faint greenish glow that looks like a long stripe in the sky, and then if you keep watching it, it morphs into various shapes. It doesn’t stay in the sky all night, which is why it’s known as ‘hunting’ for the lights because you might not find them.
So once you can see a faint green glow in the sky, it’s time to start taking photos. And by the way, you CAN get some photos with long exposure (I’ll explain how to set that up in a minute) of the northern lights EVEN IF you can’t really see it with your naked eye, so it’s worth just taking photos of the sky anyway.
IMPORTANT: It’s important to actually do all of the things on this list, and not just the first one. If you set your tripod up and take a photo, you won’t see anything, you really need to do all of these things. It took me hours of trial and error and fiddling in the freezing cold with camera settings to work all this out!
1: Set up your tripod and line up the shot
Right so the first step is to make sure you have a good tripod, I usually use a gorilla pod or something like that because I vlog a lot but you can get a better one if you like. Because you’re using a compact camera, you don’t really need a huge high tech tripod, because your camera just isn’t heavy. Most tripods can securely hold your compact camera.
So you want to set it up in a secure place on the ground, and aim the camera up at the sky. As long as the shot is fixed and the camera won’t move, you’re fine. Now that the tripods on the ground, line the shot up. Try and capture the ground AND the sky, or if there’s a mountain near by, try and capture that as well. It works really well to have some of the ground in the shot as foreground, to contrast the sky and the lights.
2: Set your focus to infinity
Your focus on your camera should be set to infinity, to the widest it can be set to. This means usually on your compact camera, there will be a setting for manual exposure and shutter speed. On my Sony, this was named ‘Shutter Priority’ but it might be something else on your camera. Find the setting on the options wheel that lets you CHOOSE your shutter speed and things like that.
3: Set your ISO to about 3000-5000 or above
Your ISO should be set to at least 3000, and this just means it will capture more light. This is perfect for night shots, where there’s just hardly any light to enter the sensor and lense. Again, this took me a long while of trial and error in the cold dark night, but I’m sure it’s easy to work it out before hand. Set your ISO to the right setting. If you’re doing this beforehand, in the day time, and the screen looks pure white and you can’t see much, that means you’ve done it right.
4: Set your F-stop to something low like 1.5-2.5
The F stop is how much of the background Is blurred out basically. You don’t want anything to be blurred out for this type of shot, because the lights are so far away. For this reason you want to set your focus to be as far away as possible. On DSLR cameras, there’s actually an infinity symbol at the end of the focus ring, but for compacts it’s just the edge of the setting.
So set your focus to be as far away as possible. This will let you capture the details like the stars as well as the lights. Try and set this up before everything else, as it’s one less thing to worry about. DO NOT use auto focus for any of these shots. In the dark, autofocus doesn’t work and your shots will all be blurred. Autofocus is great in the day time but it doesn’t know how to focus on things in the dark.
5: Set your shutter speed to 20 seconds or longer
This might be called exposure time or something else, but your shutter speed is really what’s going to get the shot for you. By having a ‘longer shutter speed’ you essentially slow down how long the camera takes the photo for. Usually the shutter speed is instant, just a click.
That’s because when a shutter works in daylight, it opens for a second, enough to capture all of the light in the scene and record it as a photograph. In the night time however because there’s FAR less light to capture, it takes longer to capture it. So you want to set your shutter speed to as slow as you possibly can.
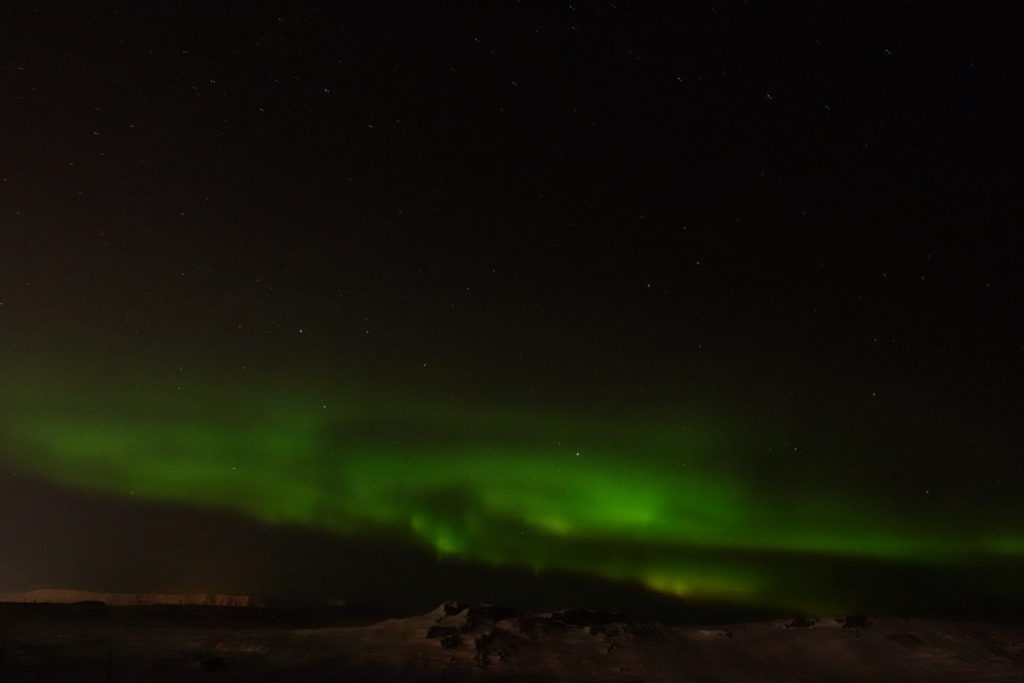
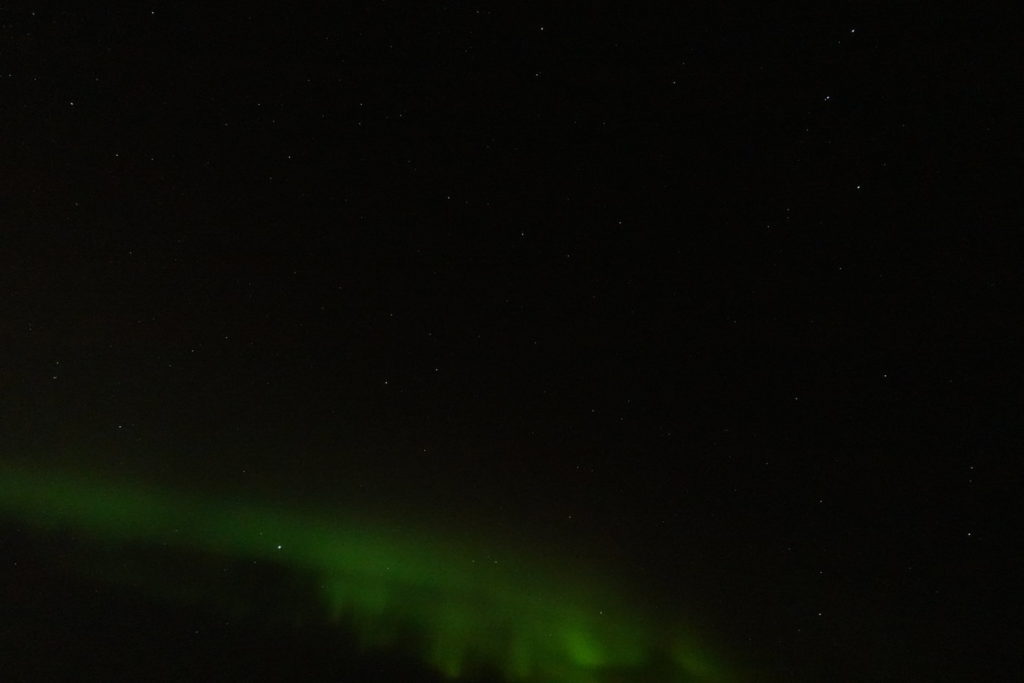
I experimented with this a bit as you’ll see, and my pictures got A LOT better when I slowed the shutter speed to about 20-30 seconds or longer. You can see how the same sky can be captured in much different ways by just changing the shutter speed.
The photo below is a shot I took with a FAST shutter speed, before I figured out that longer shutter speed was better, and you can see how it captures MUCH less of the green glowing lights.
6: Use a timer on your camera
Now what you’ll quickly notice is that when you press the shutter button yourself, you move the camera. In the cold, and with gloves on, this movement is even bigger so you’re going to need to use the TIMER function on your camera. I didn’t actually work this out for a long time annoyingly.
So set your timer to about 2 seconds, line up your shot and then press the shutter button and take both hands off the camera before it takes the shot. This means the shot is taken with absolutely no movement or shakiness. I’ve ruined several shots by trying to take it with my hand manually, before realising the timer was the only way to go.
7: NO FLASH!
I can’t explain how annoying it was to have people on my tour group use flash for their photos. So firstly, you can’t capture the northern lights with a flash. It makes them invisible in the your photos, but even worse? By flashing a light from behind a camera doing a long exposure shot, you ruin their shot.
So every time someone lit the sky up with a flash, I had to start the photo again and if you think it takes 30 seconds for the shutter to close, and then another 60 seconds for the camera to process the shot, that wasted lots of time for me.
It got to the point where everyone was shouting ‘NO FLASH NO FLASH!’ At the idiots at the back trying to capture the lights with their crappy phones and flashes.
So don’t ever use flash, and ideally go somewhere where you’re not near anyone else, because if someone else uses it, you can ruin your shot and you’ll have to start again.
8: Get some foreground in the shot
As I said before, it’s nice to get some foreground in the shot. This just means something closer that can also be in the shot. Usually you’ll be able to get things like rocks, mountains, trees and even people in the foreground of your shots. The thing is, whatever the object is needs to be completely still. This is fine for trees, as they don’t move much (but they do if it’s WINDY!).
For people however, you’ll really need to stand still. I managed to get a couple of shots of me with my arms held out, but it wasn’t easy. I had my girlfriend shout when she was starting the shot, I froze and didn’t move for about 30 seconds, and she shouted when it had taken the photo.
Now, in freezing cold wind, it’s pretty hard to stand still for so long. Even if you move slightly, your outline will be blurred in the shot. So you can get awesome shots like that but you need to stand perfectly still, even if it’s windy!
The best shots are the ones that have a lot in the foreground, and capture the northern lights above. I also should mention that your field of view should be as wide as possible.
9: Take lots of shots
Don’t just take one photo of the northern lights and then call it a night. Some shots won’t come out how you think, and you’ll want to capture lots of shots. This is because even in just a few minutes, the northern lights move, dance around, change shape and form and even change color.
You really want to capture all of that, and have several shots with different angles, different shutter times, different settings etc, and even different places. I stayed out in the cold for hours getting the right shots, but still I only have about 3-4 really good ones, because I didn’t work all this stuff out before.
Now, when I go back to Scandinavia to look for them again, I know exactly how to take the shots and how to get long exposure shots like these. By the way, most of these tips also apply to getting shots of waterfalls with long exposure. You just need to change your ISO to daylight settings and then just use all of these tips for capturing waterfalls with long exposure!
10: Don’t be fooled by your camera playback screen
I took about 6 shots on my camera which looked epic on the camera playback screen, but when I transferred them to the computer later, they just weren’t that good. I don’t know why, but the screen seems to make colours pop a bit more than on the computer with the raw file. Now, this isn’t the end of the world, because you can always edit your photos.
The more high quality a camera, the more ‘data’ is in the shot. All that means is that if you have a shot with a lot of ‘data’ it means when you edit it later, you have more options. You can change the saturation (how bright the colours are) and things like that later when you edit the photo. IT’s super easy, and you can even do it with Instagram!
Enjoy the northern lights!
I have to say the northern lights are probably one of the most incredible things I’ve ever seen. Well worth the money for the tour, and well worth waiting in the cold for several hours. I would say I’m so glad I managed to take some good pictures of them, because there were so many people on the bus going back who had just captured crappy low resolution photos on their mobile phones which just aren’t the same as a photo like this from a compact camera.
A magical end to the trip
Right at the end of my trip to Iceland, literally as I’m boarding the plane to go back to London, I see the northern lights above the plane. It was sort of a cute little send off, and a perfect end to my first trip to Iceland.
It’s interesting though, because normally you can’t see them unless you’re somewhere completely dark, and out of cities and not near any buildings. But they were so strong and intense on my last night that I could see them while boarding the plane, even with the harsh overhead lights and things like that at the airport.